


⭐⭐⭐⭐⭐ Loved by 2000+ customers!
RC Paper Airplane Kit
RC Paper Airplane Kit
✈️ Turn Ordinary Paper Into a Flying RC Plane.
🎮 Real Remote Control. No Phone or App Needed.
🚀 Crash, Refold & Keep the Adventure Going.
Couldn't load pickup availability
Get it between - and -.
Product Description
Product Description
Your Paper Plane. Now With Real Flying Power.
Turn a simple sheet of paper into an aircraft you can actually control!
Fold your plane, attach the lightweight motor module, and take flight with twin propellers and gyro-assisted stability.
Less screen time. More outdoor adventures.
Product Size, Variants & Specs
Product Size, Variants & Specs
- Module Size: 4.33" × 2.76" (11 × 7 cm)
- Control: 2.4GHz wireless remote
- Motor: Dual propeller system
- Stability: Built-in gyroscope
- Power: USB-rechargeable battery
- Recommended Paper: A4, 80–100 gsm
- Recommended Age: 10+ with adult supervision
- Variant: Standard Kit (1 rechargeable battery)
What's Included: Power module, remote controller, rechargeable battery, USB cable, landing gear, screwdriver and spare propellers.
Paper and 3 AAA remote batteries are not included.
Product Materials
Product Materials
Lightweight ABS plastic frame, electronic components, dual propellers and rechargeable battery.
Shipping & Returns
Shipping & Returns
- Processing: Orders dispatch within 1 -2 business days.
- Delivery: Estimated arrival 6-10 business days after dispatch, depending on location.
- Shipping cost: FREE
- Returns: Request a return within 30 days of delivery, subject to return conditions.
- Return shipping: Free return.
- Need help? Contact support@tavlot.com with your order number.
RC Paper Airplane Kit


From Paper to Pilot in Minutes
Why just throw a paper airplane when you can actually fly it? Attach the reusable power module to your own design and watch your creation come to life.

Real Control. Smoother Flights.
Twin propellers power your plane while the built-in gyroscope helps keep it steady. Use the dedicated remote to control speed and direction without touching a phone.

A Different Adventure Every Time
Crashed your plane? Simply fold a fresh one and reuse the working motor module. Experiment with new shapes and discover how each design flies.
Why Choose Our RC Paper Airplane Kit?
| Our Kit | Regular Paper Plane | Foam RC Plane | |
|---|---|---|---|
| Powered Flight | |||
| Remote Control | |||
| Build Your Own Plane | |||
| Replace Paper Wings Easily | |||
| Try New Paper Designs |
Everything Inside the Box
- Dual-propeller power unit with gyro stabilizer
- Dual-stick remote for throttle and steering
- Rechargeable battery pack
- USB cable for easy charging
- Removable landing gear with wheels
- Mini screwdriver and instruction manual
Paper isn't included. Just fold your own from any sheet of A4.
How it works
Fold. Clip. Fly.
Most RC toys put the pricey parts right in the crash zone. Tavlot keeps them out of it, so the only thing that takes the hit is a sheet of paper.
-
1
Fold
Fold your airframe
Grab any A4 sheet (80–100 gsm works best) and fold a classic dart, a wide glider, or a design of your own. The paper is built to take the hit, and it costs just one sheet.
Any A4 sheet · 80–100 gsm -
2
Clip
Clip on the power module
A lightweight black frame carries twin propellers on side outriggers, plus a gyro stabilizer that smooths out the wobble. Clip or tape it onto your folded plane as shown in the manual, and add the landing gear if you want wheels.
Twin props + gyro stabilizer -
3
Fly
Fly with real sticks
The remote splits the controls the way your hands expect: one stick for power, one for steering. Crashed? Fold a fresh plane in about a minute, clip the module back on, and launch again.
Rebuild in about a minute
Your first afternoon
From Box to Backyard.
Here's how setup goes, from unboxing to your first flight.
-
1
Step 1
Charge it
Plug in the included USB cable to charge the battery. Fold your first plane while you wait.
Fold while it charges -
2
Step 2
Fold and clip
Fold a plane from any A4 sheet, then clip the power module on by following the manual. Add the landing gear if you'd like wheeled take-offs.
Any A4 sheet -
3
Step 3
First flights
Pick an open space on a calm day and start with gentle power. Your first few flights are all about getting a feel for the throttle.
Start gentle -
4
Step 4
Crash, refold, repeat
When it nose-dives (and it will), pop the module off, fold a fresh plane in about a minute, and you're back in the air.
Back up in about a minute
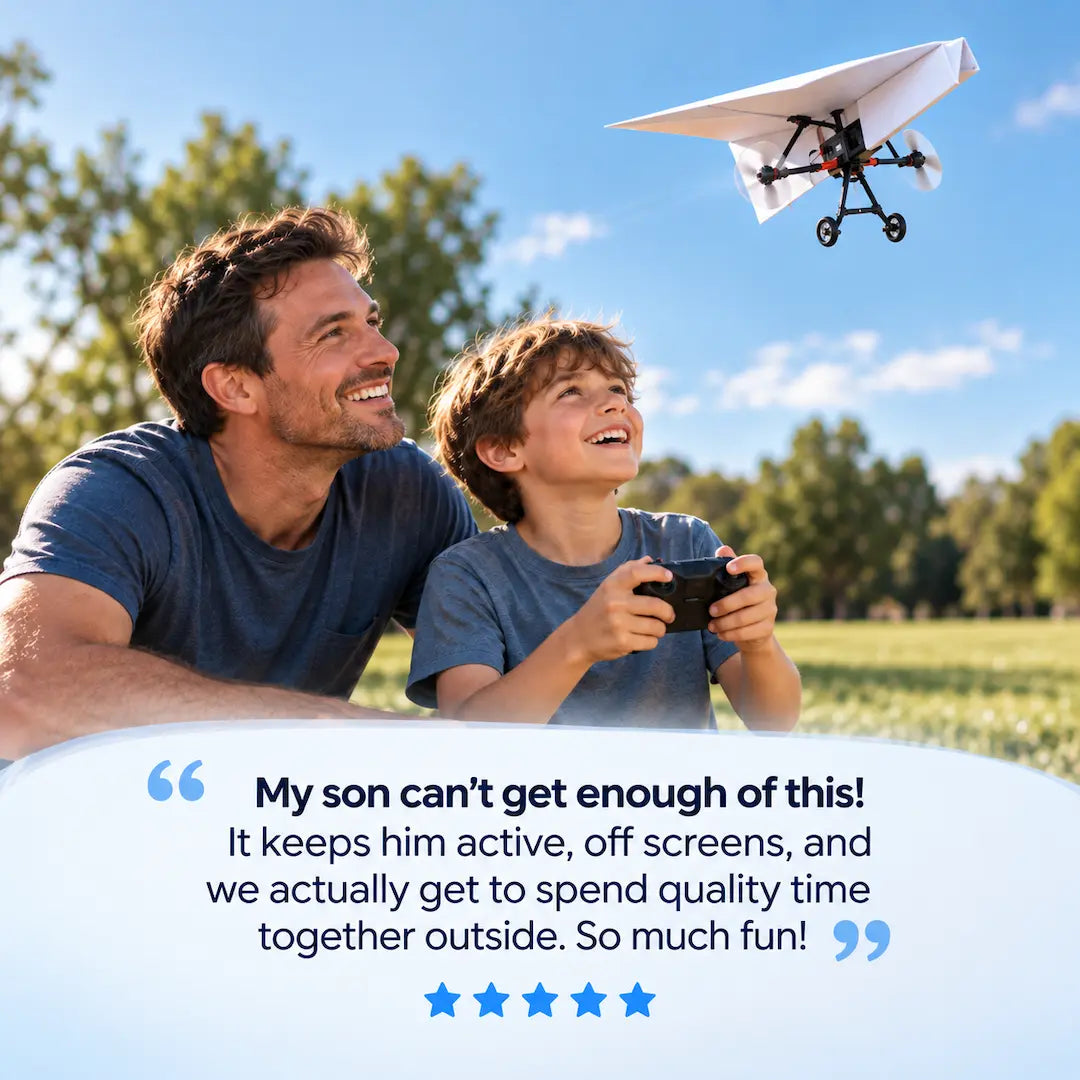
Little Pilots. Big Smiles.
Frequently Asked Questions
Does it really fly or just glide?
Does it really fly or just glide?
It really flies! Twin motors provide powered flight, while the remote lets you control throttle and steering.
Is it difficult for beginners?
Is it difficult for beginners?
There's a learning curve, but the controls are straightforward. Start with gentle power in a wide-open space and practice on calm days.
What happens if the airplane crashes?
What happens if the airplane crashes?
If only the paper gets damaged, simply fold another plane and transfer the working motor module. The electronics and propellers can still be damaged by hard impacts.
Do I need special paper or extra batteries?
Do I need special paper or extra batteries?
Standard A4 paper (80–100 gsm) works best. The plane's battery is rechargeable, but the remote requires 3 AAA batteries, sold separately.
Where can my child fly it?
Where can my child fly it?
Open parks, fields and spacious indoor areas work best. Avoid strong winds, roads, power lines and crowded spaces; adult supervision is recommended.